One weak door is all it takes: a guessed password, a forgotten session on a shared
tablet, a new hire with more access than her job needs. This chapter is how people get into the
store and how you stop worrying about all of that: shoppers sign in, recover passwords and verify
their email on their own, while your team gets exactly the access their jobs need, an optional
second lock on the door, a clear record of who changed what, and a live window over the work
running in the background.
The problem: new customers need to open an account entirely on
their own, at midnight, on their phone. If a sign-up ever needs your help, or a mistyped email
quietly sticks to an account, the mess lands on your desk.
Shoppers create their own account with a name, email and password, and are treated
as a customer from the first minute. A verification email goes out straight away so the address is
confirmed before anything important depends on it, with nothing for you to set up or untangle.
In practice
Say a first-time visitor from Doha has fallen for a ready-to-wear black crepe abaya
and wants to save it to a wishlist and check out faster next time. She does not have an account yet.
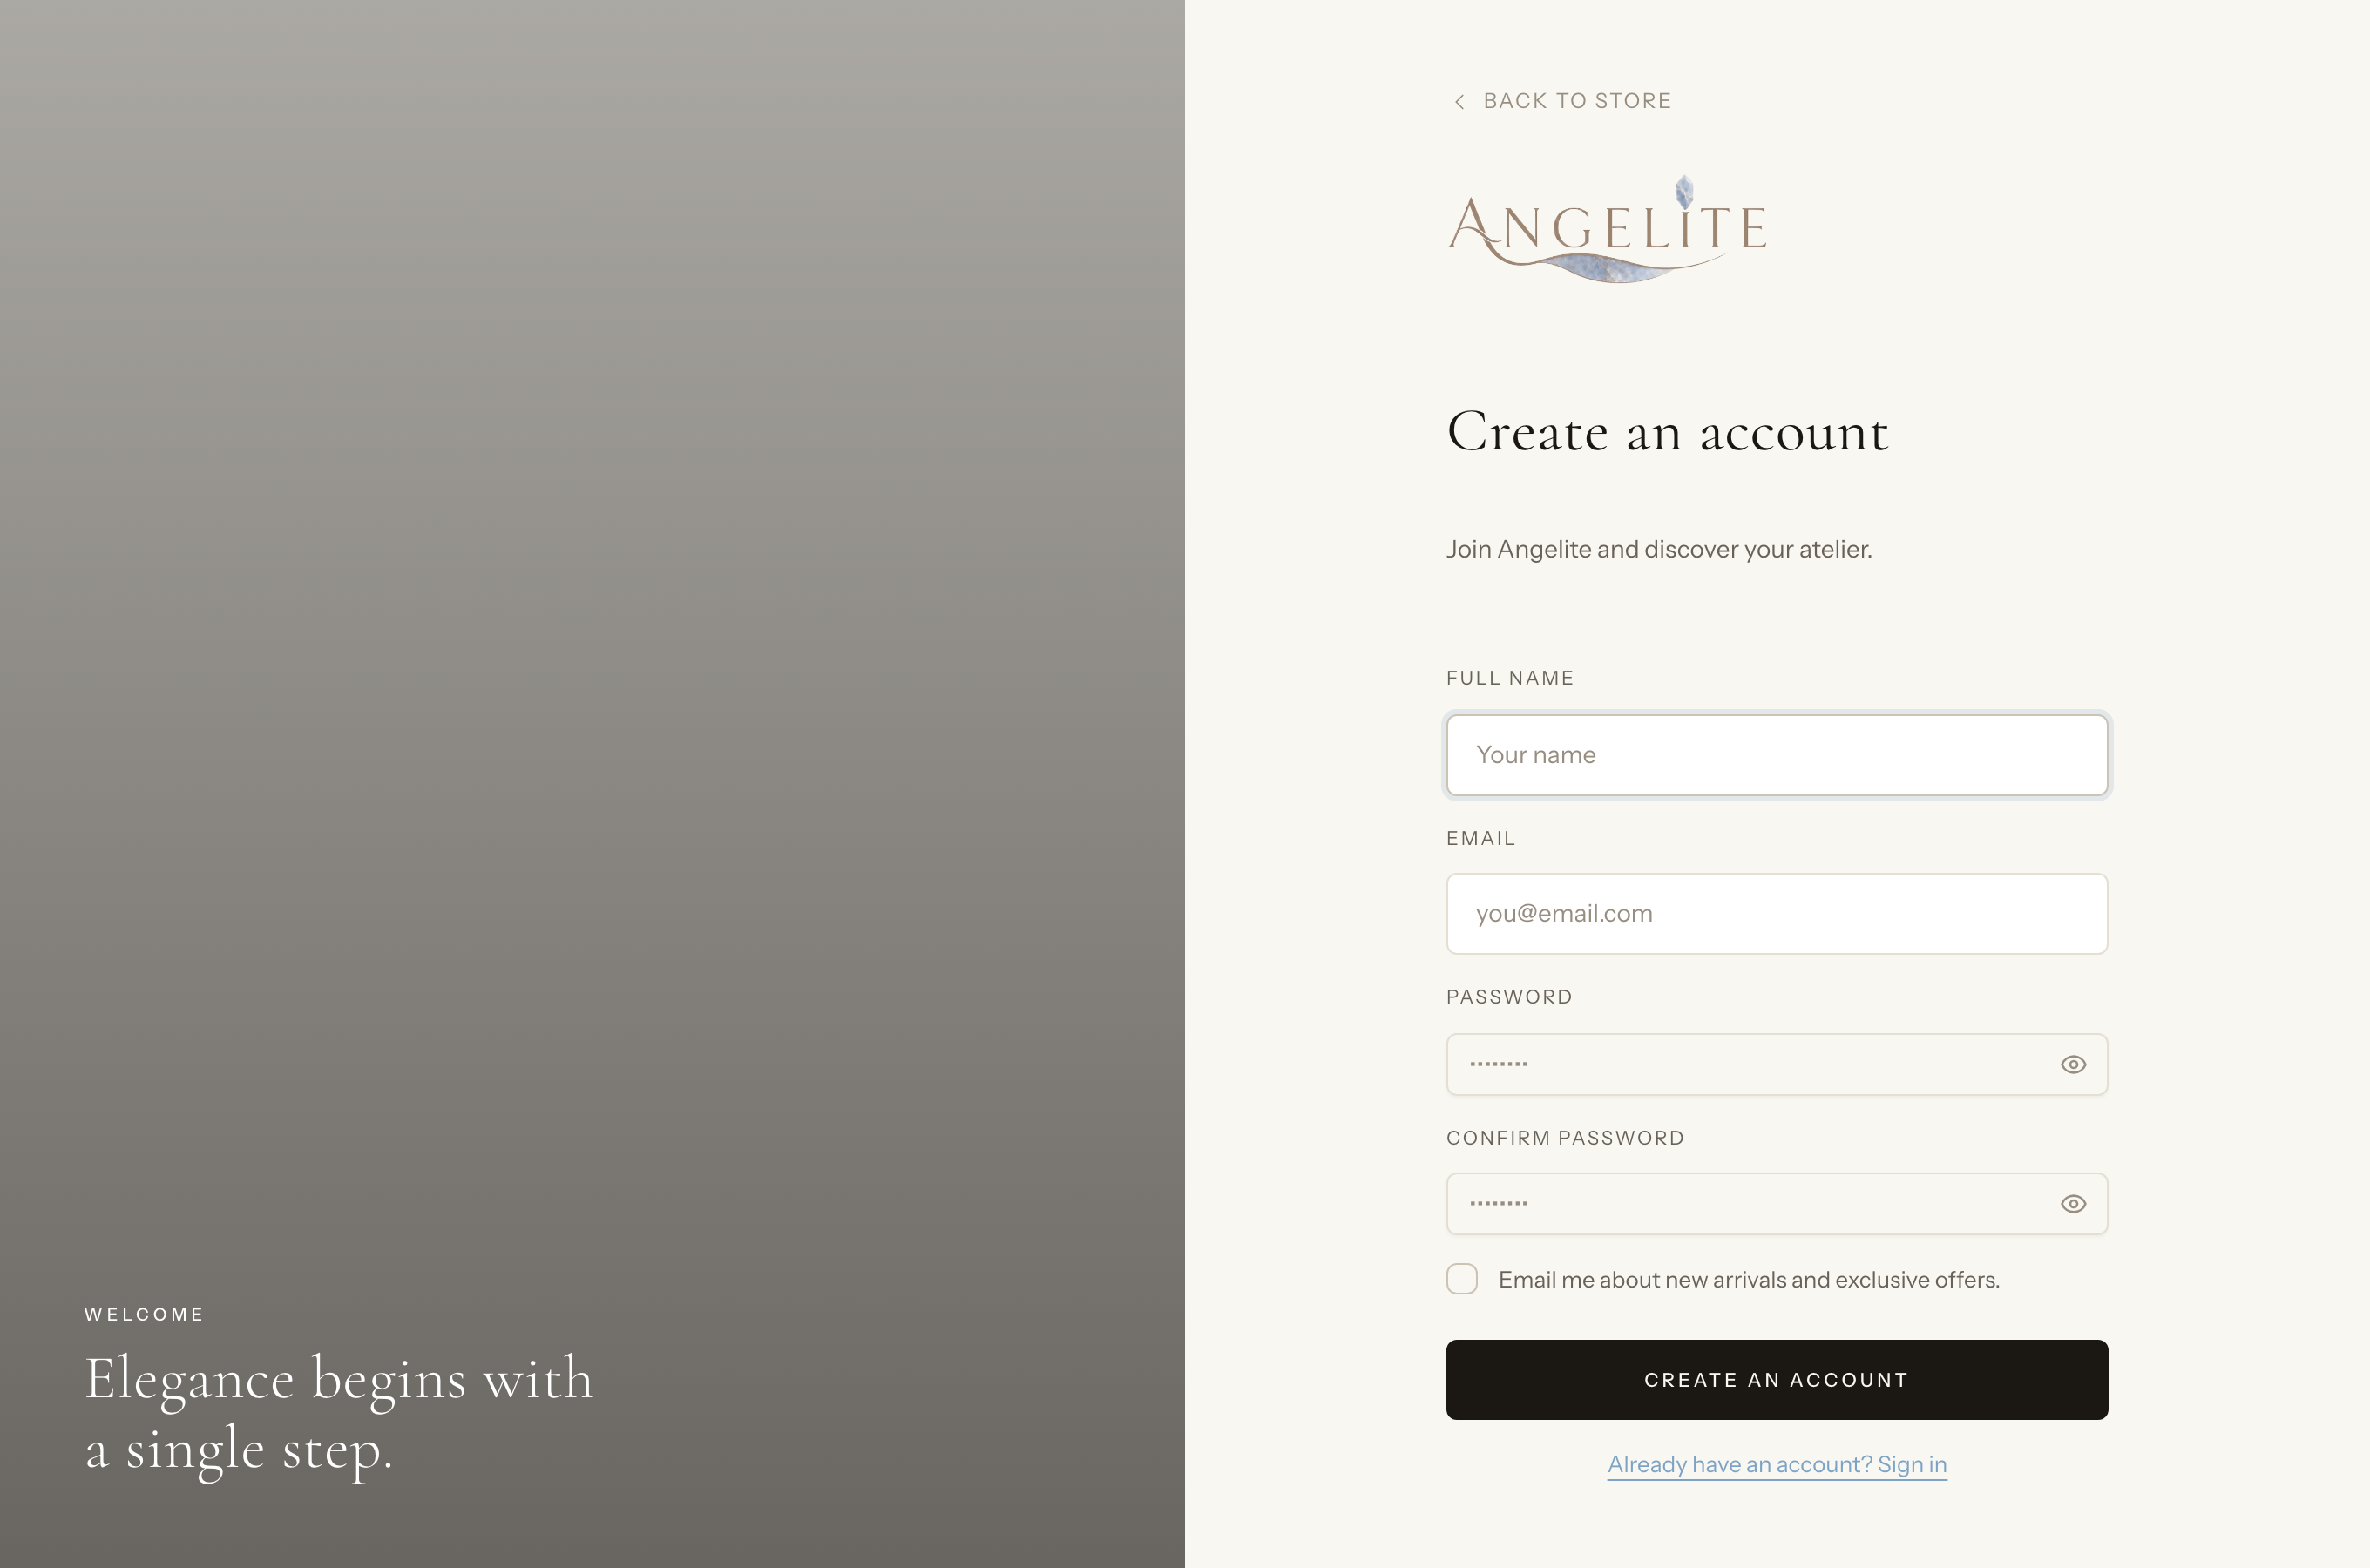
How Angelite handles it: she opens the Create account page, types
her name, email and a password, confirms the password and submits. She is signed in immediately and
shown a friendly "please verify your email" notice, while a confirmation link lands in her inbox. From
that moment she is a recognised customer who can favourite pieces and reuse her details at checkout.
How to use it
From the storefront, the shopper opens the Create account page.
They enter their name, email address and a password, then confirm the password.
On submit they are signed in straight away and shown a "please verify your email" notice.
A verification link is emailed to the address they entered.
Where: the storefront Create account page.
Login & logout
Customer
The problem: somewhere out there, someone is always trying
passwords against a shop's sign-in page. And you do not want to run two separate doors, one for
shoppers and one for staff, just to keep the back office apart.
The everyday email-and-password sign-in, shared by shoppers and staff. Repeated
wrong attempts are slowed down automatically to shut out guessing, and after login each person
lands in the right place: shoppers in their account, staff in the admin.
In practice
Imagine a returning customer comes back to reorder a made-to-order kaftan with
hand-beaded sleeves as a gift, and at the same time your sales assistant signs in from the shop counter
to process the day's orders. Both use the same Sign in page.
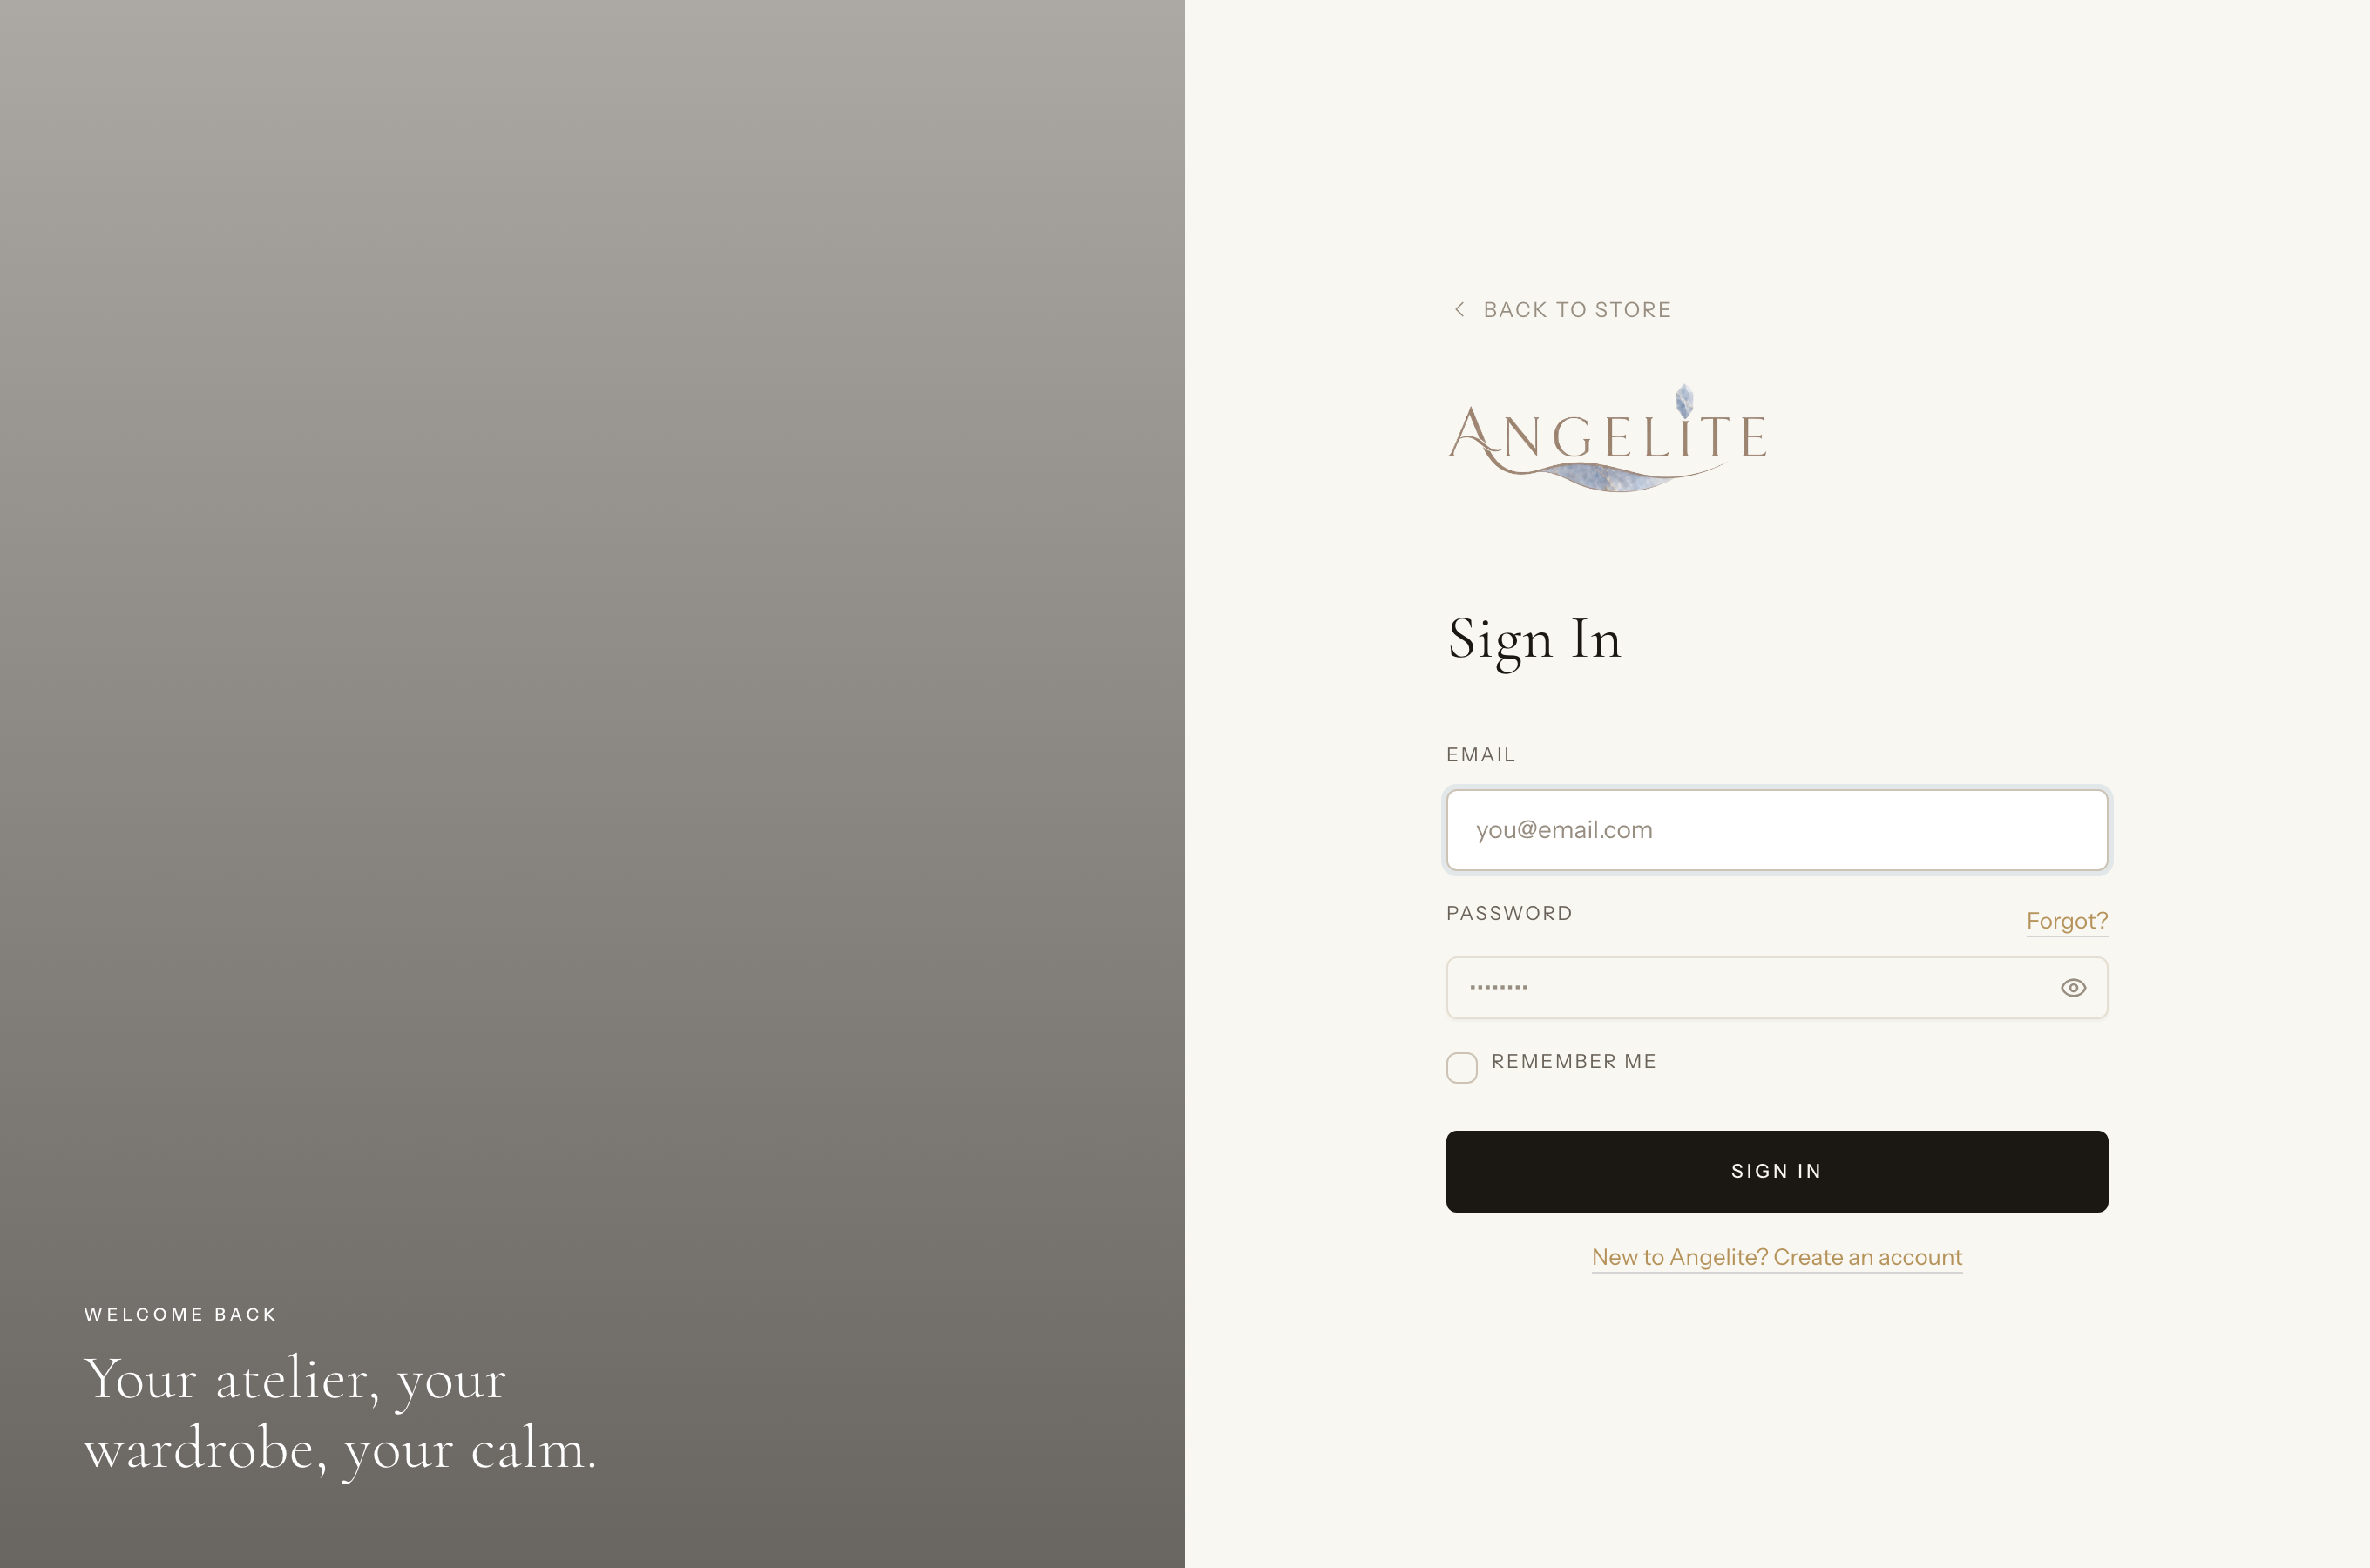
How Angelite handles it: each enters their email and password on the
Sign in page. The customer is taken to her account where her past orders wait;
the assistant is recognised as staff and dropped straight into the admin dashboard. When either is
done, the Log out option in their menu ends the session cleanly. If someone fumbles
the password several times in a row, the form briefly pauses them to shut out anyone trying to guess.
How to use it
Open the storefront Sign in page.
Enter your email and password, then submit.
You are taken to your account (or, for staff, to the admin dashboard).
To sign out, use the Log out option in the account or admin menu.
Where: the storefront Sign in page.
Good to know: after too many failed attempts in a short window the
form pauses you with a "too many attempts" message, then lets you try again shortly after.
Password reset
Customer
The problem: a customer who forgot her password either gives up
on the order, or opens a second account and loses her history, and either way the "I cannot log
in" message ends up with you.
A safe way back in by email. The shopper requests a reset, gets a one-time link in
her inbox, and chooses a new password from that link: same account, order history intact, nothing
for you to do.
In practice
A customer who last bought a ready-to-wear evening kaftan six months ago returns for
an Eid gift but cannot remember her password. She does not want to make a second account and
lose her order history.
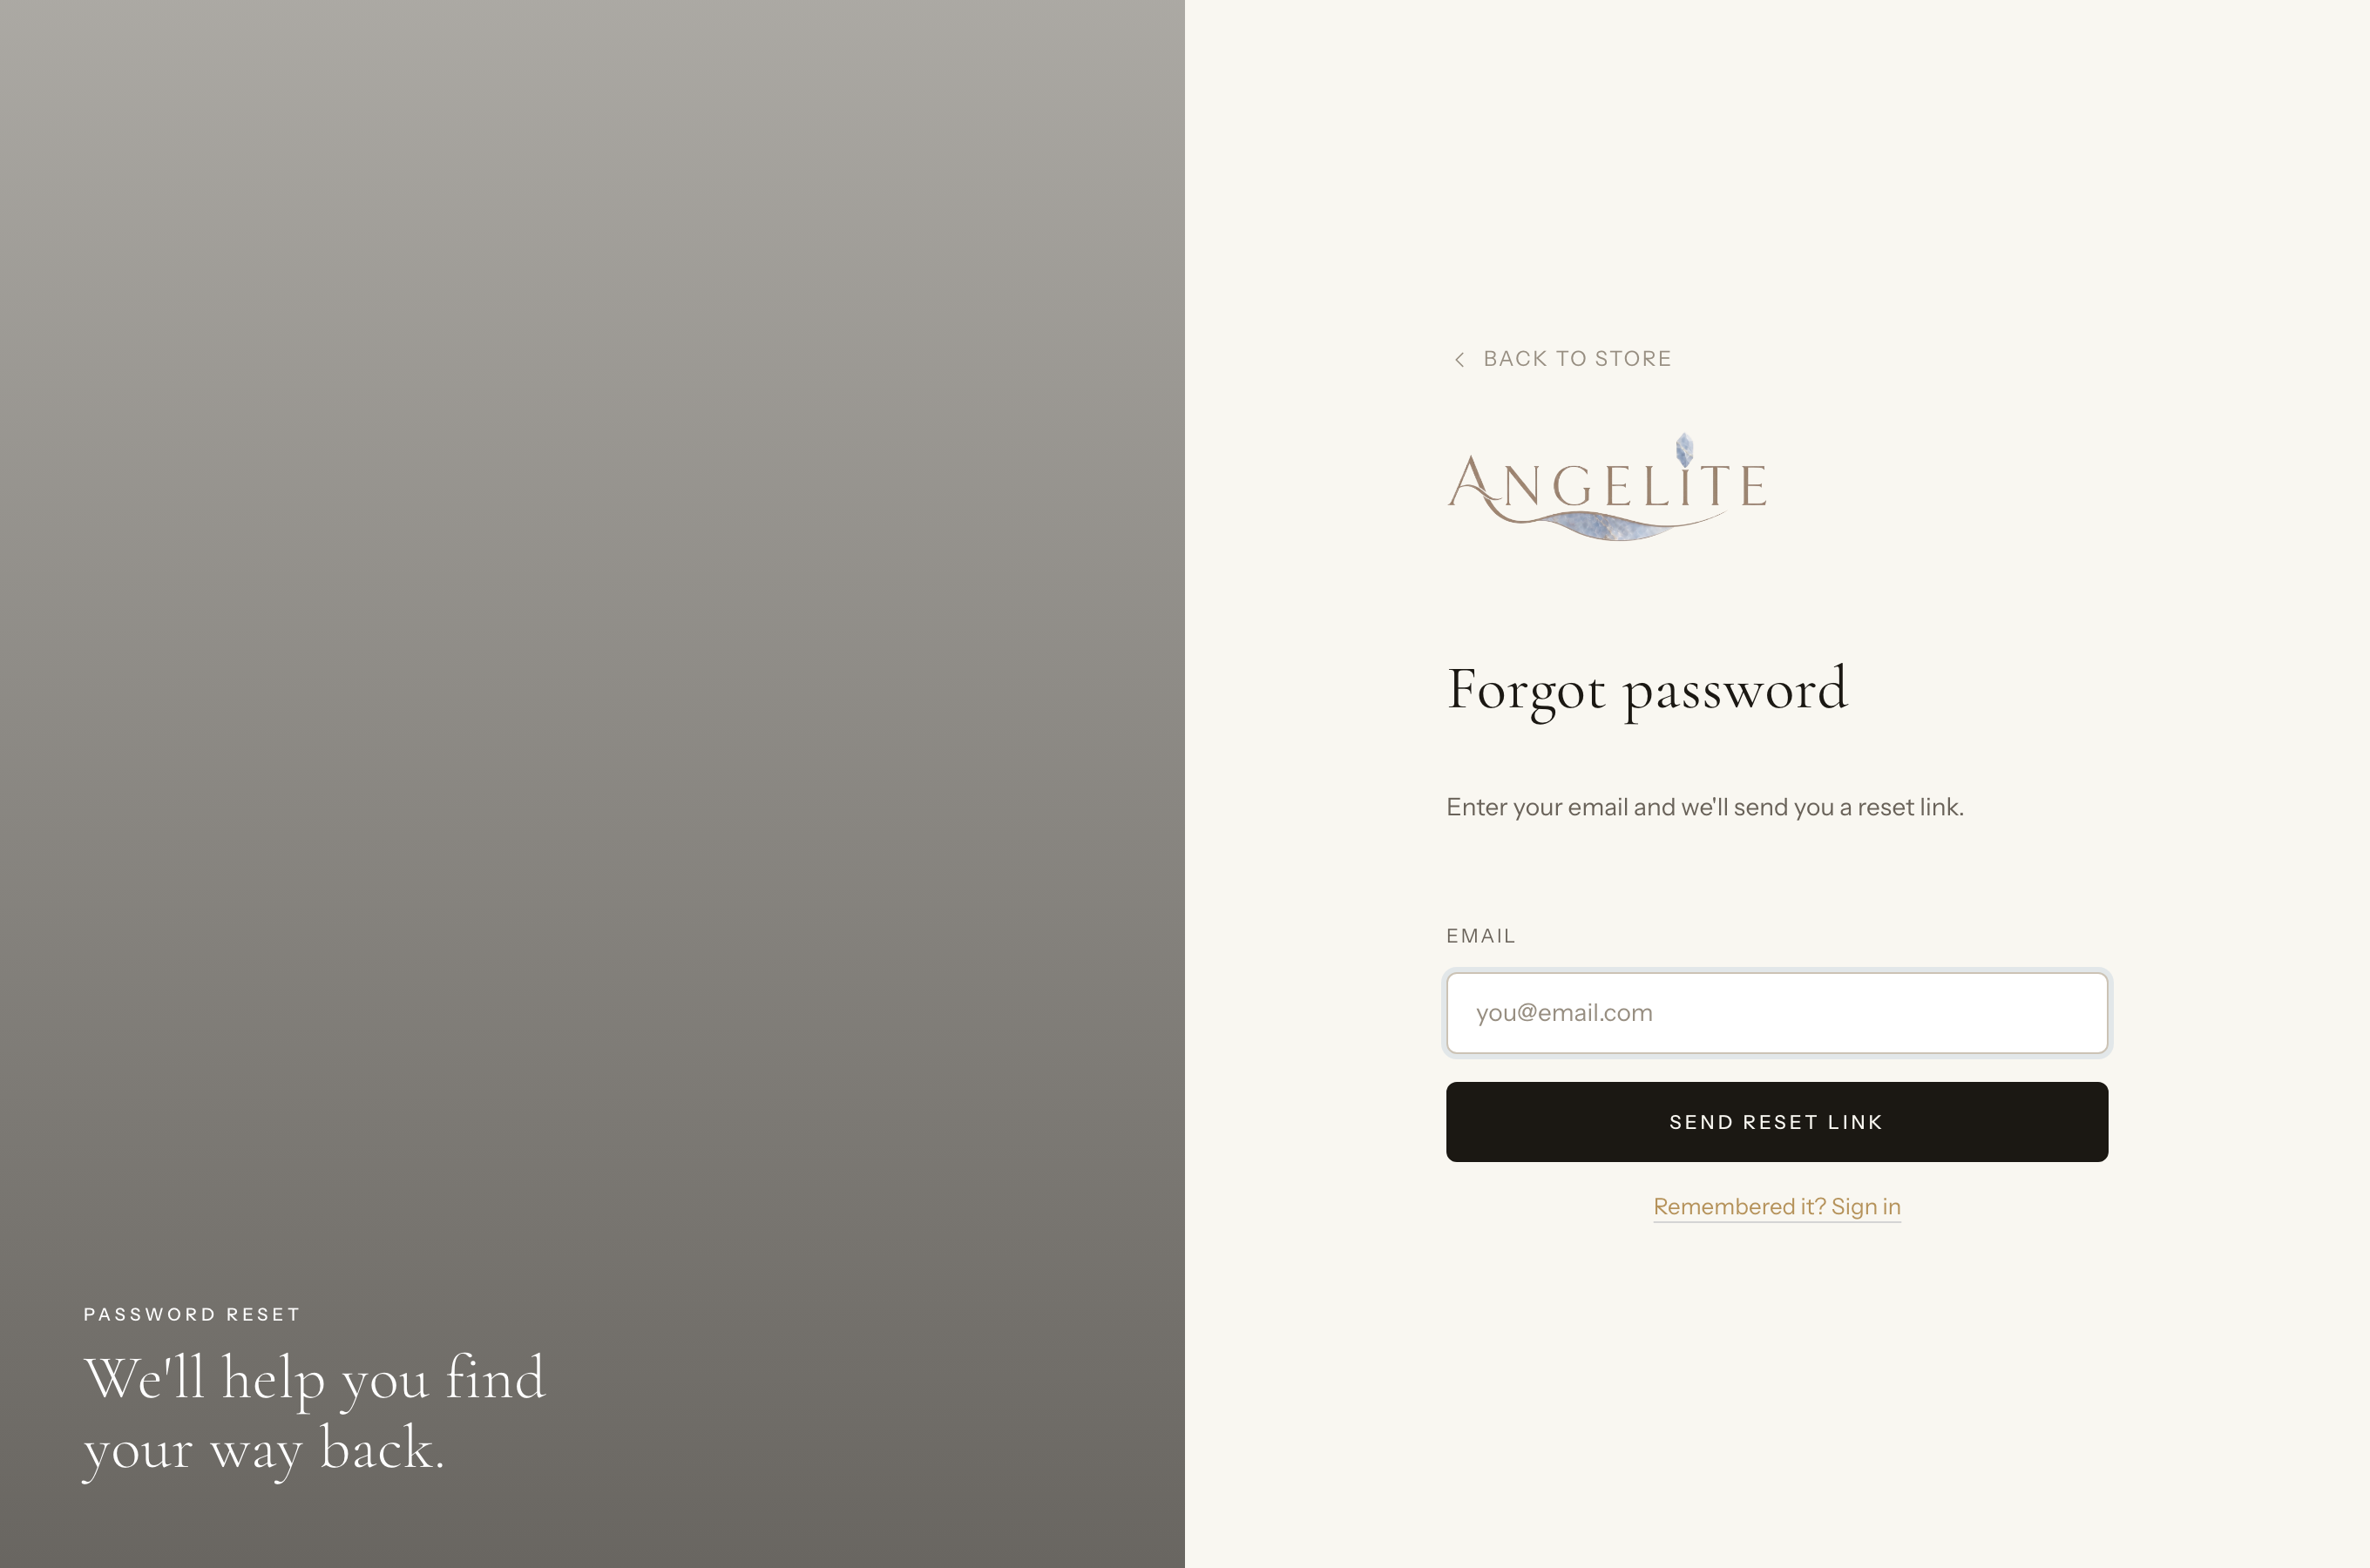
How Angelite handles it: on the Sign in page she clicks Forgot
password, enters her email and submits. A one-time reset link arrives in her inbox; she
opens it, chooses a new password and confirms it, then signs back into the very same account with all
her saved details intact. For safety, finishing the reset signs her out everywhere else, so any older
session cannot linger.
How to use it
On the Sign in page, the shopper clicks Forgot password.
They enter their email address and submit; a "check your email" message confirms it.
They open the email and click the reset link.
They set a new password and confirm it, then sign in with the new password.
Where: the storefront Forgot password page.
Good to know: for safety, completing a reset signs the account out of
every other device, so a stolen session cannot survive the very fix the customer just made.
Email verification
Customer
The problem: a shopper mistypes her email at sign-up and never
notices. From that day her order confirmations, receipts and reset links all go to a stranger's
inbox, and she blames the shop.
Confirms that a new account really owns the email address it signed up with. The
shopper clicks a one-time link in her inbox to prove the address is hers, before any order mail
depends on it.
In practice
Say a shopper mistypes her email when signing up to order a made-to-order abaya
with custom sleeve length, putting a stranger's address by accident. You do not want order confirmations
and reset links going to the wrong inbox.
How Angelite handles it: right after registering she sees a "please verify your
email" page, and a confirmation link is sent to whatever address she typed. Only by opening that inbox
and clicking the link is the address marked as verified, which proves it truly belongs to her. If the
email never shows up (because the address was wrong), she can correct it and request a fresh link from
the verification page, so mistyped addresses never quietly stay attached to an account.
How to use it
After registering, the shopper sees a "please verify your email" page.
They open the verification email and click the link inside it.
The address is confirmed and they continue into the store.
If the email never arrived, they can request a fresh link from the verification page.
Good to know: the link works once and expires, so an old forwarded
email cannot be misused, and a fresh link can always be sent.
Two-factor authentication
CustomerAdmin
The problem: your admin password could leak tomorrow, reused on
another site, phished, or read off a note by the till, and that one password can change prices,
issue refunds and export your customer list.
An optional second lock on top of the password. Once turned on, signing in also asks
for a fresh six-digit number from a code app on your phone, so a stolen password alone is not
enough to get in.
In practice
Imagine you run the shop and your admin account can change prices, issue refunds and
export customer lists. A leaked password would be a serious problem, so you want a second lock on the
door.
How Angelite handles it: in the Security settings you choose Enable
two-factor, scan the on-screen QR code with a code app on your phone (one that shows a
fresh six-digit number), and save the recovery codes somewhere safe. From then on, every sign-in
asks for the current number from the app, so even if someone learned your password they still
could not get in without your phone. If you ever lose the phone, one of the saved recovery codes
lets you back in.
How to use it
Open the security settings and choose Enable two-factor.
Scan the on-screen QR code with a code app on your phone (for example Google Authenticator or Authy).
Save the recovery codes that are shown somewhere safe, in case the phone is lost.
Enter the current six-digit number from the app to confirm, and two-factor is now active.
From then on, every sign-in asks for a fresh number (or a recovery code if the phone is unavailable).
Where: the Security settings page, where two-factor is turned on and recovery codes are shown.
Good to know: recovery codes are single-use. Keep them safe; each one lets
you sign in once if you cannot reach the code app on your phone.
Password confirmation
CustomerAdmin
The problem: you step away from the counter and the admin stays
open on the screen. One idle minute is all a passer-by needs to quietly switch off the very
settings that protect the shop.
An extra check before the most sensitive actions, such as turning two-factor on or
off. Even while signed in, the user is asked to re-enter their current password, proving it is
really them at the keyboard and not whoever found the screen unlocked.
In practice
Say you step away from the counter for a coffee and leave the admin open on the
screen. Someone could wander up and try to switch off your two-factor protection while you are gone.
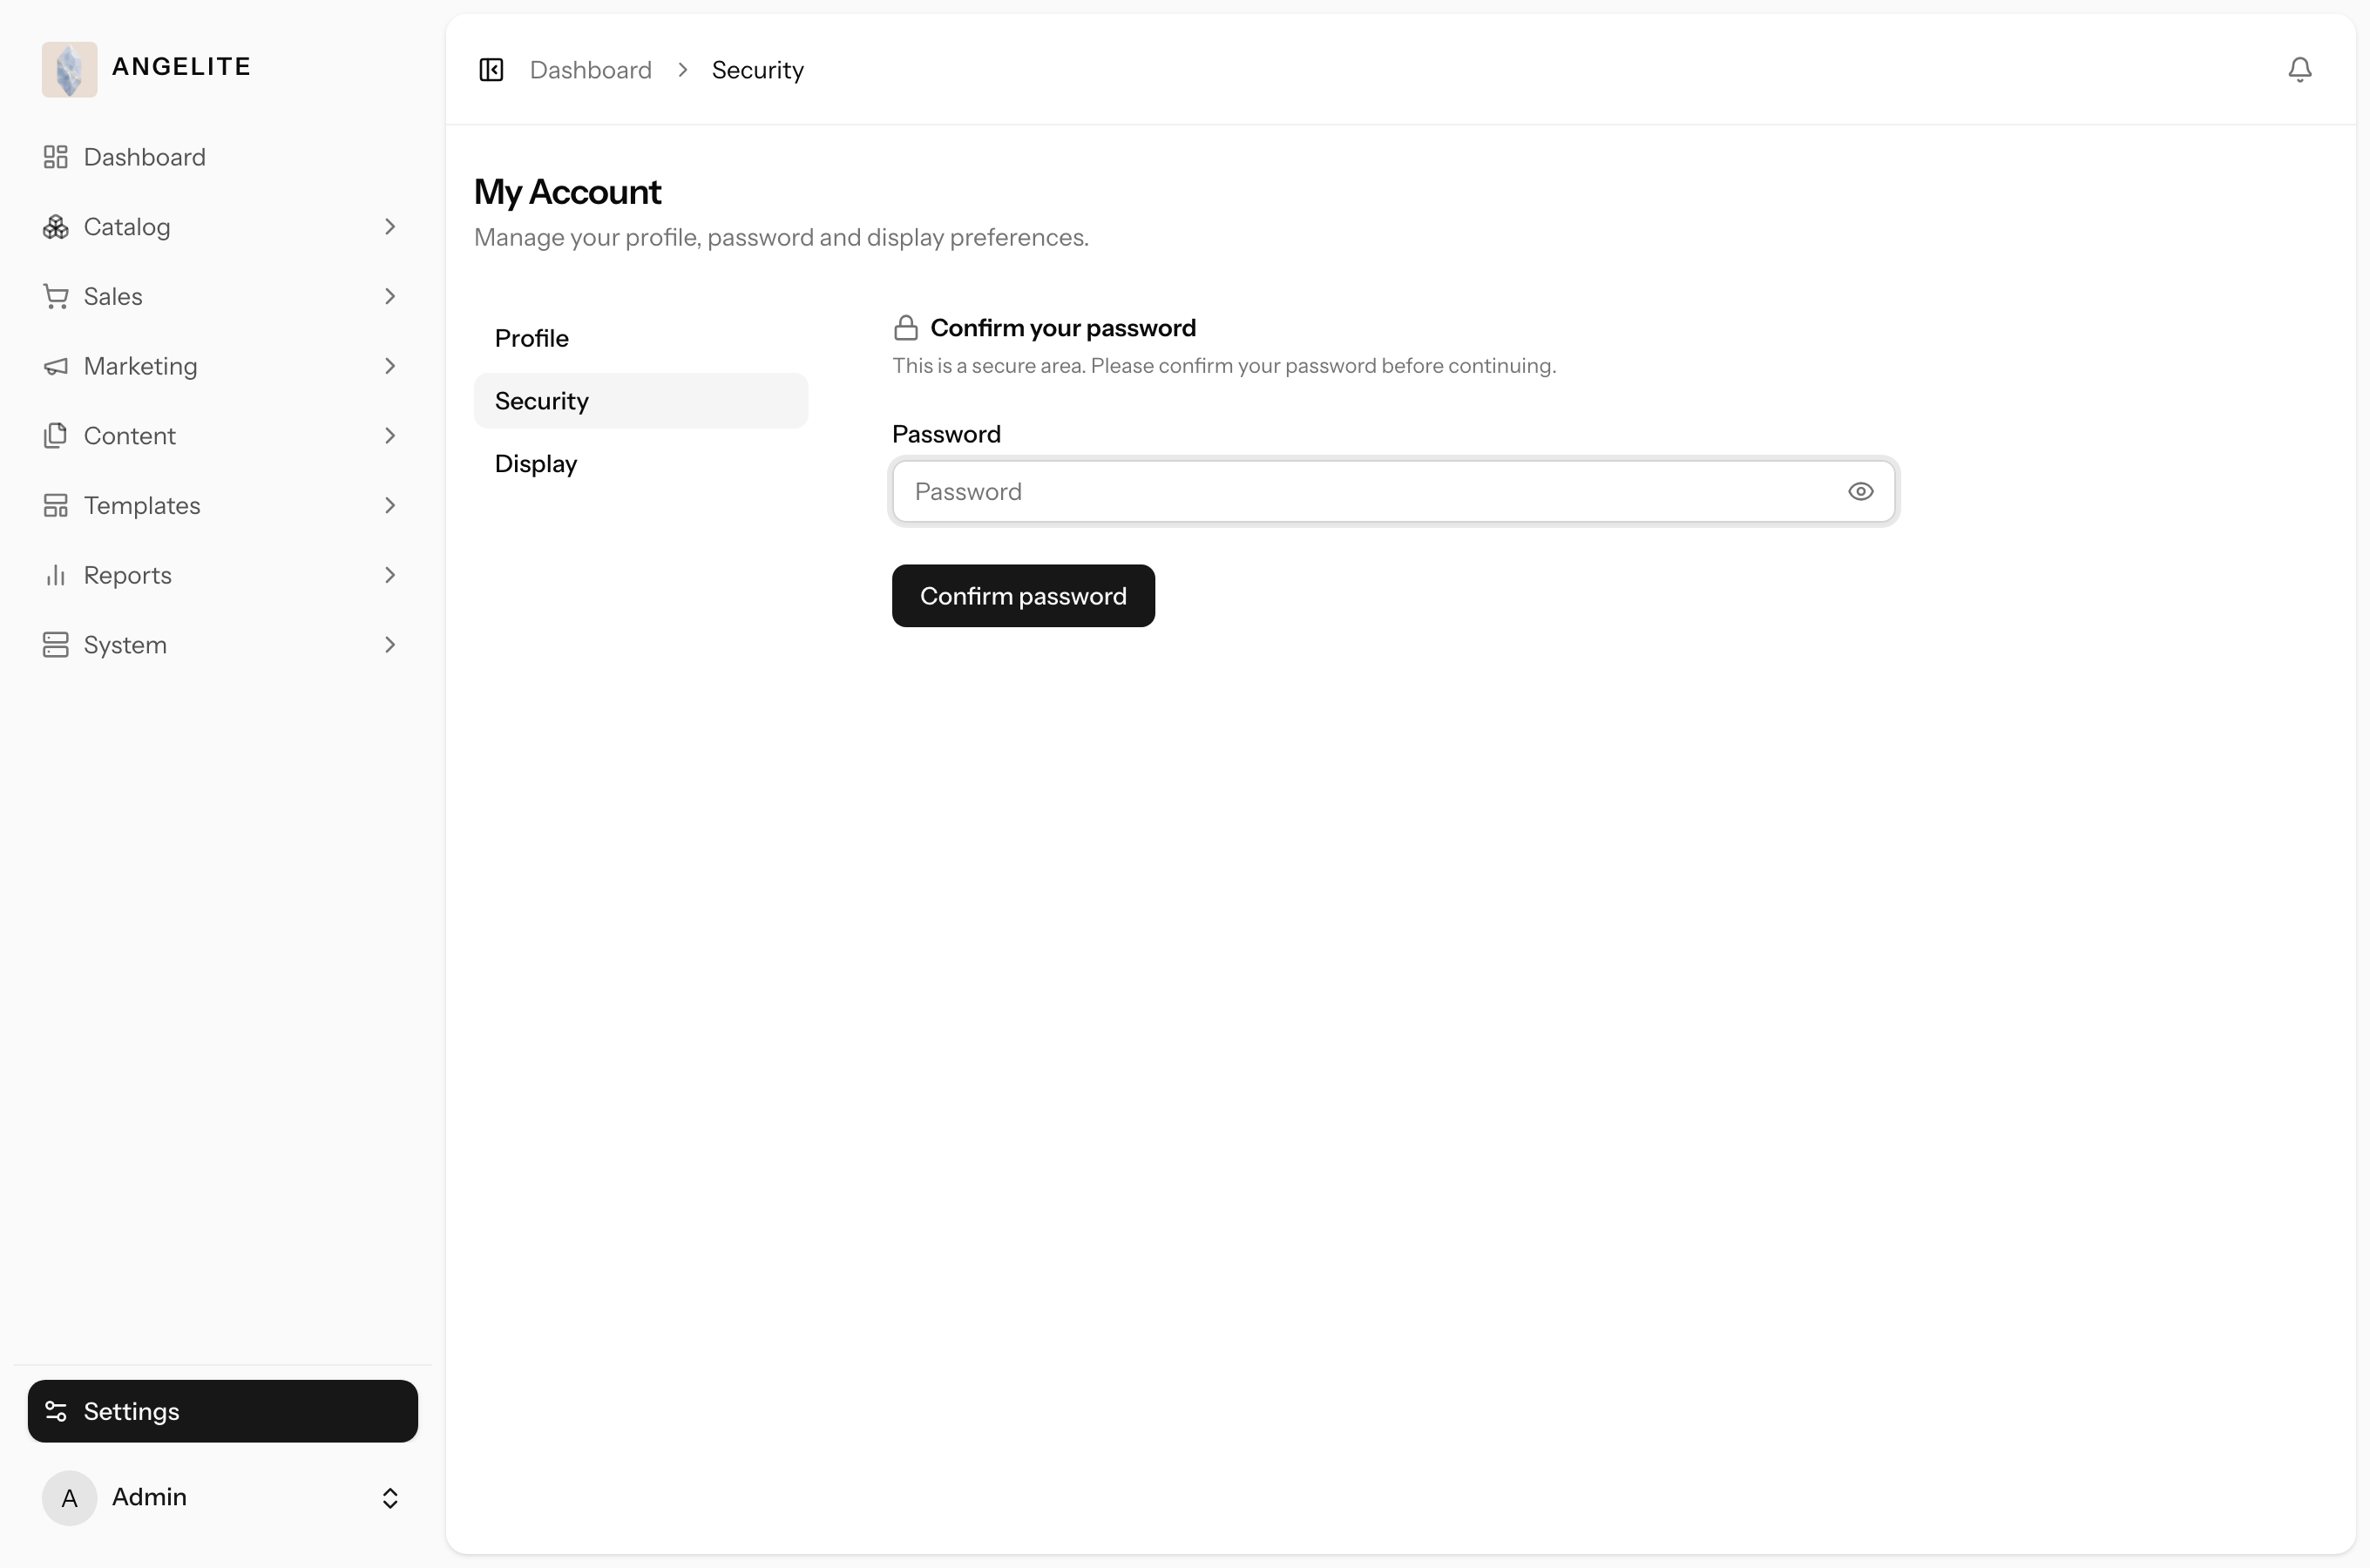
How Angelite handles it: the moment a sensitive action is started, such as managing
two-factor settings, a short confirm your password prompt appears and the current
password must be typed in again. A passer-by who does not know your password is stopped right there,
even though the screen was already signed in. Once you have confirmed, you are not pestered again for a
few hours, so it stays out of the way during a normal shift.
How to use it
Start a sensitive action (for example managing two-factor settings).
If it has been a while since you last confirmed, a short "confirm your password" prompt appears.
Enter your current password to continue.
The original action then proceeds as normal.
Good to know: once confirmed, you are not asked again for a few hours, so
it stays out of the way during normal work.
Credential-change safety
CustomerAdmin
The problem: a password change that does not evict whoever is
already inside is no fix at all. The forgotten session on a shared tablet, or an intruder who got
in once, would simply carry on as if nothing happened.
Changing the login email or password is treated as a security event. On save she is
signed out everywhere else, and changing the email needs the current password and quietly alerts
the old address, so nobody can silently take over an account.
In practice
A customer realises she once signed in on a shared family tablet and never logged
out. Worried, she changes her password from her own phone to lock that old session out.
How Angelite handles it: she updates her password in account settings, and on save
Angelite keeps her signed in on the phone she is using but logs out every other device, including that
forgotten tablet session. If instead she changes her login email, Angelite first asks for her current
password as a check, sends a verification link to the new address, and quietly notifies the old address
so a hijacker can never swap the email in silence. This is why a password change can sign you out
elsewhere: it is deliberate, so a stolen session cannot outlive the change.
How to use it
Open your profile or account settings and update your password (or your login email).
Changing the email asks you to re-enter your current password as a safety check.
On save, you stay signed in on the device you are using, but every other session is logged out.
For an email change, a new verification link goes to the new address and a heads-up goes to the old one.
Good to know: this is why a password change can sign you out of your phone
or another browser; it is deliberate, so a stolen session cannot outlive the change.
Staff access & operations
Staff users & roles
Admin
The problem: you cannot run the shop alone, but delegating
should not mean handing over the keys. A seasonal packer needs to move orders along; she does not
need to see payout details, change prices or delete your catalogue.
Create accounts for your team and decide exactly what each person can do. Roles
range from full Admin down to a read-mostly Shop Manager, and you can fine-tune a single person's
permissions on top of their role. A lower-ranked staffer can never edit or delete a more
privileged account, and customer accounts never appear here.
In practice
Say the Eid rush is coming and you hire a temporary sales assistant for a month. She
needs to process and pack orders, but she absolutely must not be able to change prices, delete listings
from the catalogue, or see staff permissions.
How Angelite handles it: you open Users, click Add
user, enter her details and pick the Shop manager role. She can now sign in,
view products and orders and move orders along their status, but the price fields, delete buttons and
permission matrix simply are not available to her. When her month ends you open her record and remove
the account in a click, with no risk that she ever touched anything she should not have.
How to use it
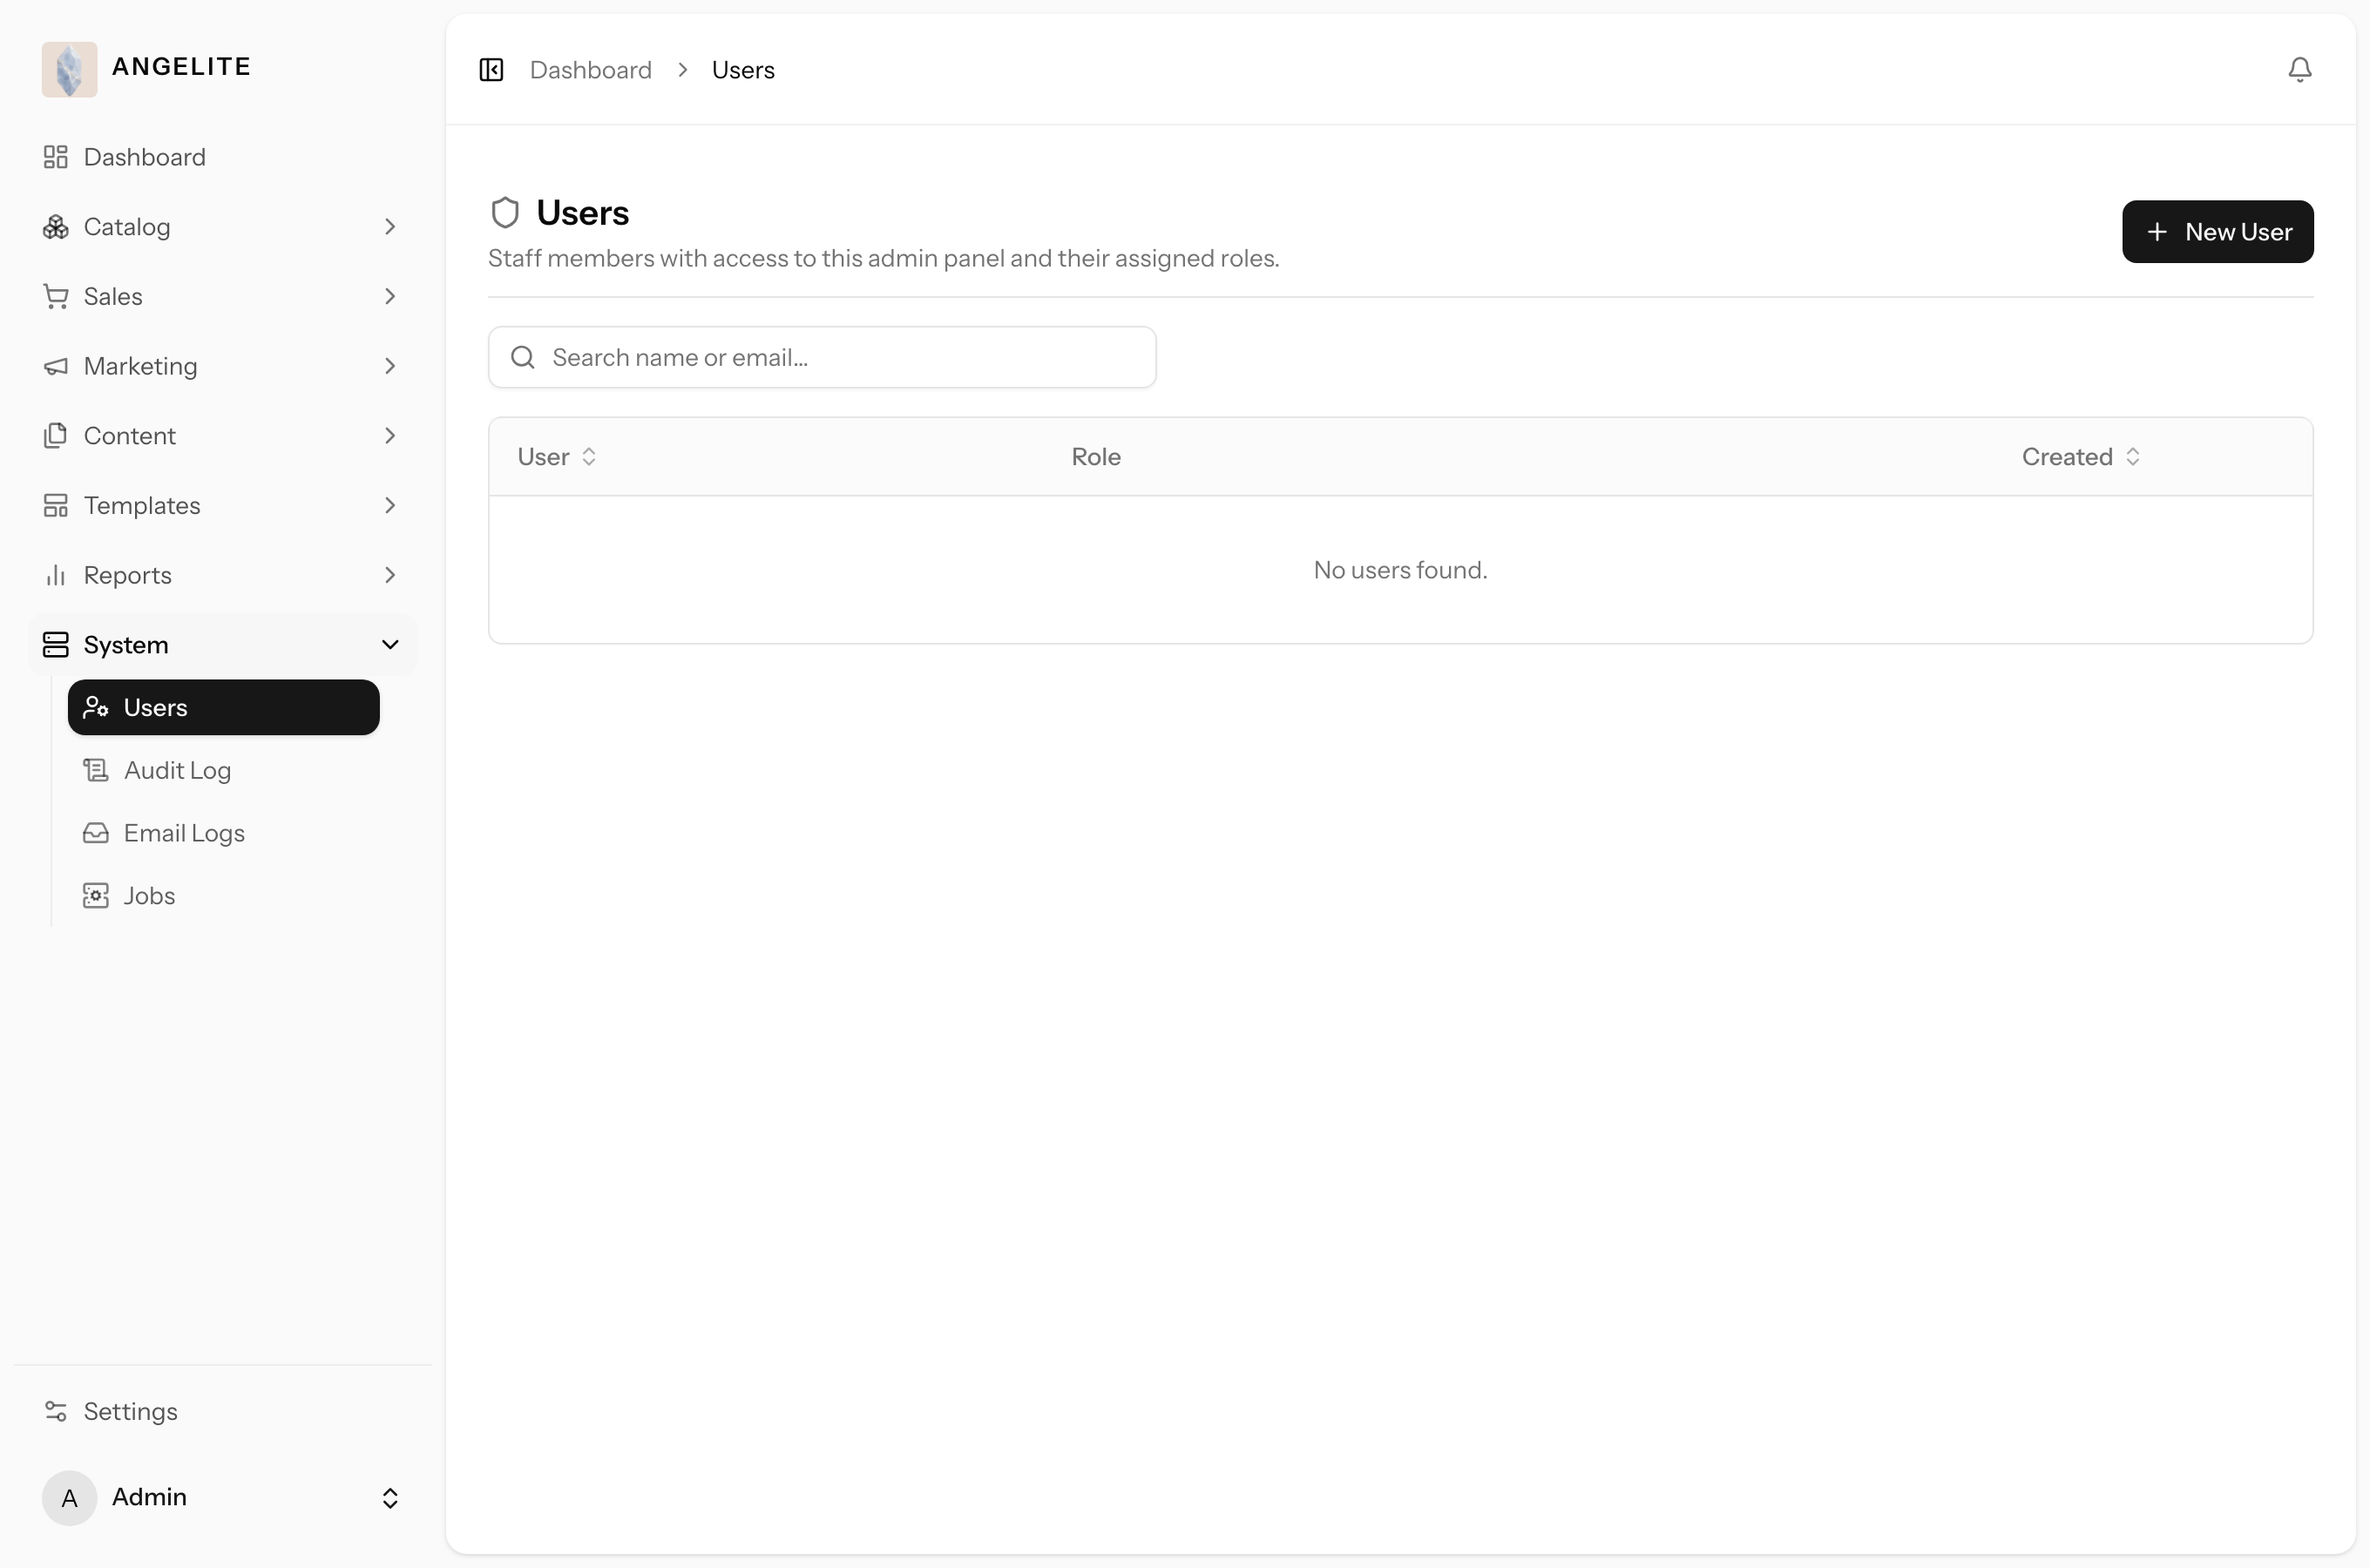
Open Users to see your staff, each with their name, email and role.
Click Add user to create a new staff member: enter their details and pick a role
(you can only assign roles at or below your own level).
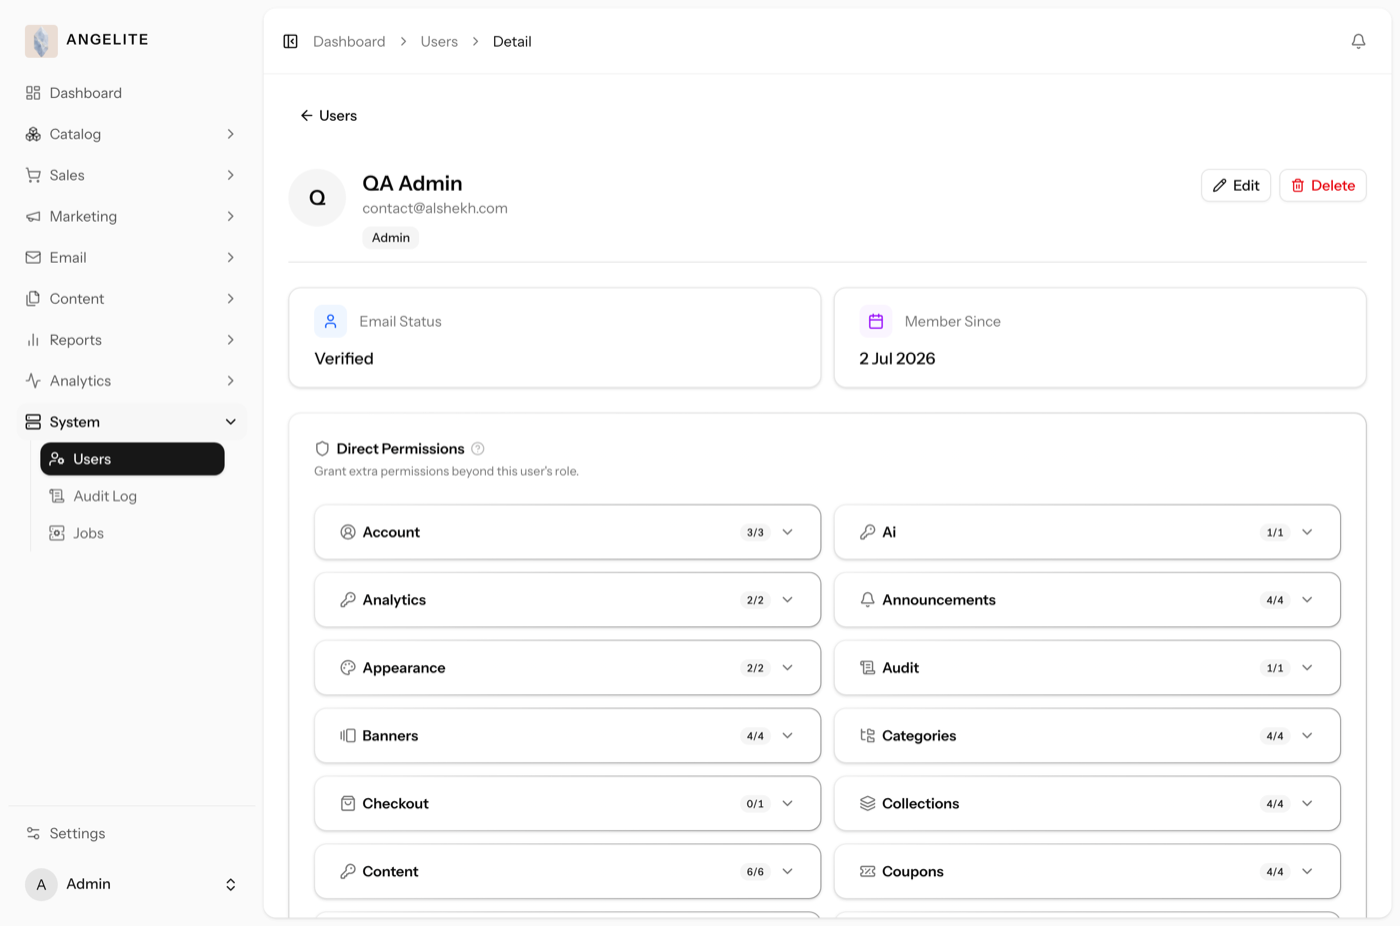
Open any staff member to review their account, change their role, or toggle individual permissions
in the permission matrix.
Save. The new permissions take effect the next time that person uses the admin.
Where: Users, the staff-only directory.Where: the Add user form, with the role chooser.Where: a staff member's page, where you tune their role and individual permissions.
Role
What they can do
Why it exists
Admin
Full access to everything: products, orders, customers, refunds, settings, integrations,
staff accounts and permissions, the audit log and every report. Nothing is hidden from an Admin.
This is the owner's own account, or a fully trusted business partner. Someone has to be able to
configure the whole shop and grant access to others, so there is always at least one Admin.
Manager
Almost the same reach as an Admin across day-to-day running, but cannot delete shipping settings
and cannot manage other people's permissions.
For a trusted store manager who runs the shop end to end yet should not be able to rewire the
permission system or tear down shipping configuration, keeping those two high-stakes levers with
the owner.
Employer
Operational hands-on work: create and edit products (but not delete them), handle the full order
flow, manage customers, and do basic user management for the team.
For a senior staff member or floor supervisor who lists new abaya collections, looks after orders
and customers daily, but should not be able to permanently delete catalogue listings.
Shop manager
Mostly read-only: view products, view orders, and move an order along its status (for example
from paid to packed to shipped). No price changes, no deletes, no settings.
For a seasonal or part-time sales assistant who needs to process and fulfil orders during a busy
period but must never change prices or delete data.
Customer
Storefront and their own account only: browse and buy, track their own orders, manage their
addresses, favourites, loyalty and store credit. No admin access at all.
This is every shopper. It exists so customers can fully self-serve their own account while being
completely walled off from the back office.
Good to know: the team hierarchy is always respected. A lower-ranked staff
member can never edit or delete a more privileged account, and you can only grant a permission you hold
yourself, so nobody can quietly promote themselves or another person above their own level.
No more guessing who made a change
Admin
The problem: a price is suddenly wrong, a product has vanished,
and nobody remembers touching it. Without a record, the mystery turns into a guessing game and
awkward questions for the whole team.
A complete, searchable record of who changed what. Every create, update and delete
made by a signed-in user is captured, and any entry opens into the exact before-and-after of each
field that changed, so a mistake or a disputed change always has a clear author and an exact
time.
In practice
Say you notice a made-to-order wedding abaya that was priced at 4,200 riyals is
suddenly showing as 420 riyals on the storefront, and a customer has already ordered three. You need
to know who changed the price, when, and what it was before.
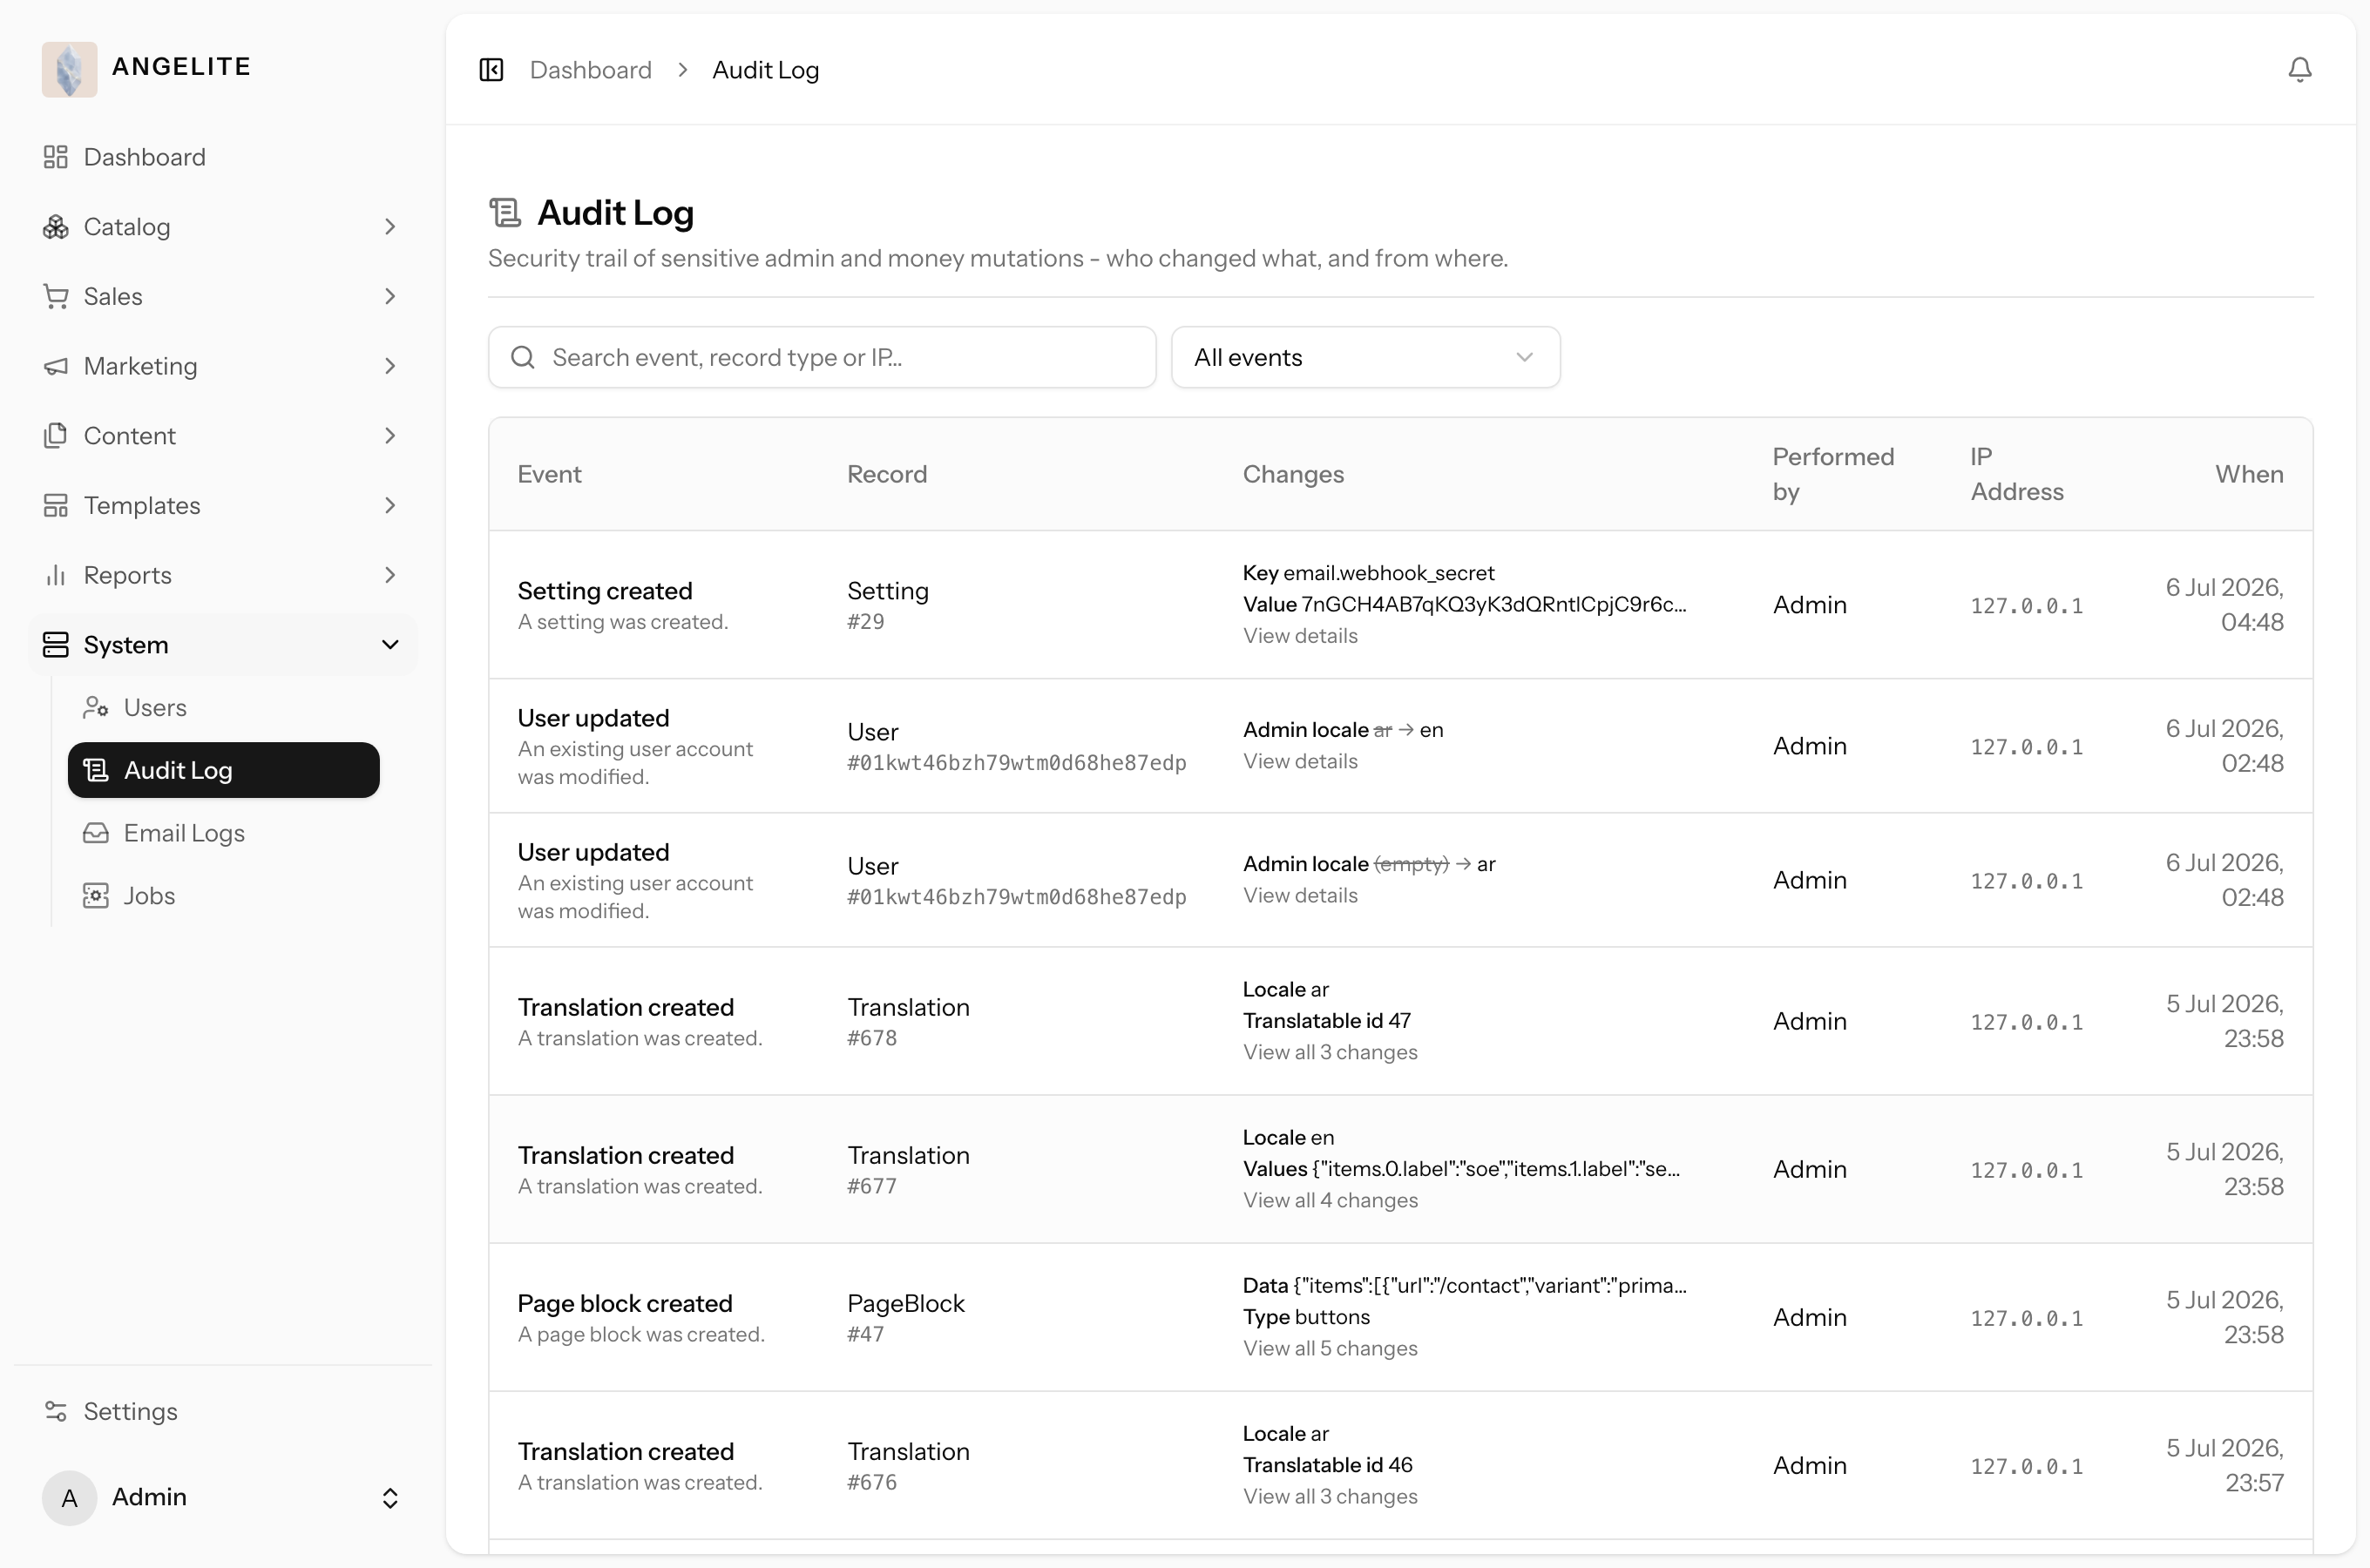
How Angelite handles it: you open the Audit Log under the System
area, search for that product or filter to price updates, and find the entry. It names the staff member,
the exact time, and shows the before-and-after for the price field (4,200 down to 420), so you can see
it was a missed digit rather than anything malicious, correct the price and have a quiet word. Every
edit across the shop leaves the same kind of trail.
How to use it
Open Audit Log under the System area.
Browse the time-ordered list of changes, each showing the action, the record, the person and the
time.
Use the search box and the event filter to narrow down to what you are looking for.
Click an entry's changes to open the full before-and-after detail for every field.
Where: System → Audit Log.
Good to know: passwords and card numbers never appear in the log, and
the Audit Log is available to Admin and Manager.
Background jobs monitor
Admin / ManagerOptional · Background Jobs
The problem: the store does invisible work all day, sending
confirmations, receipts and campaign emails, and when that work quietly stalls, the first you hear
of it is a frustrated customer days later.
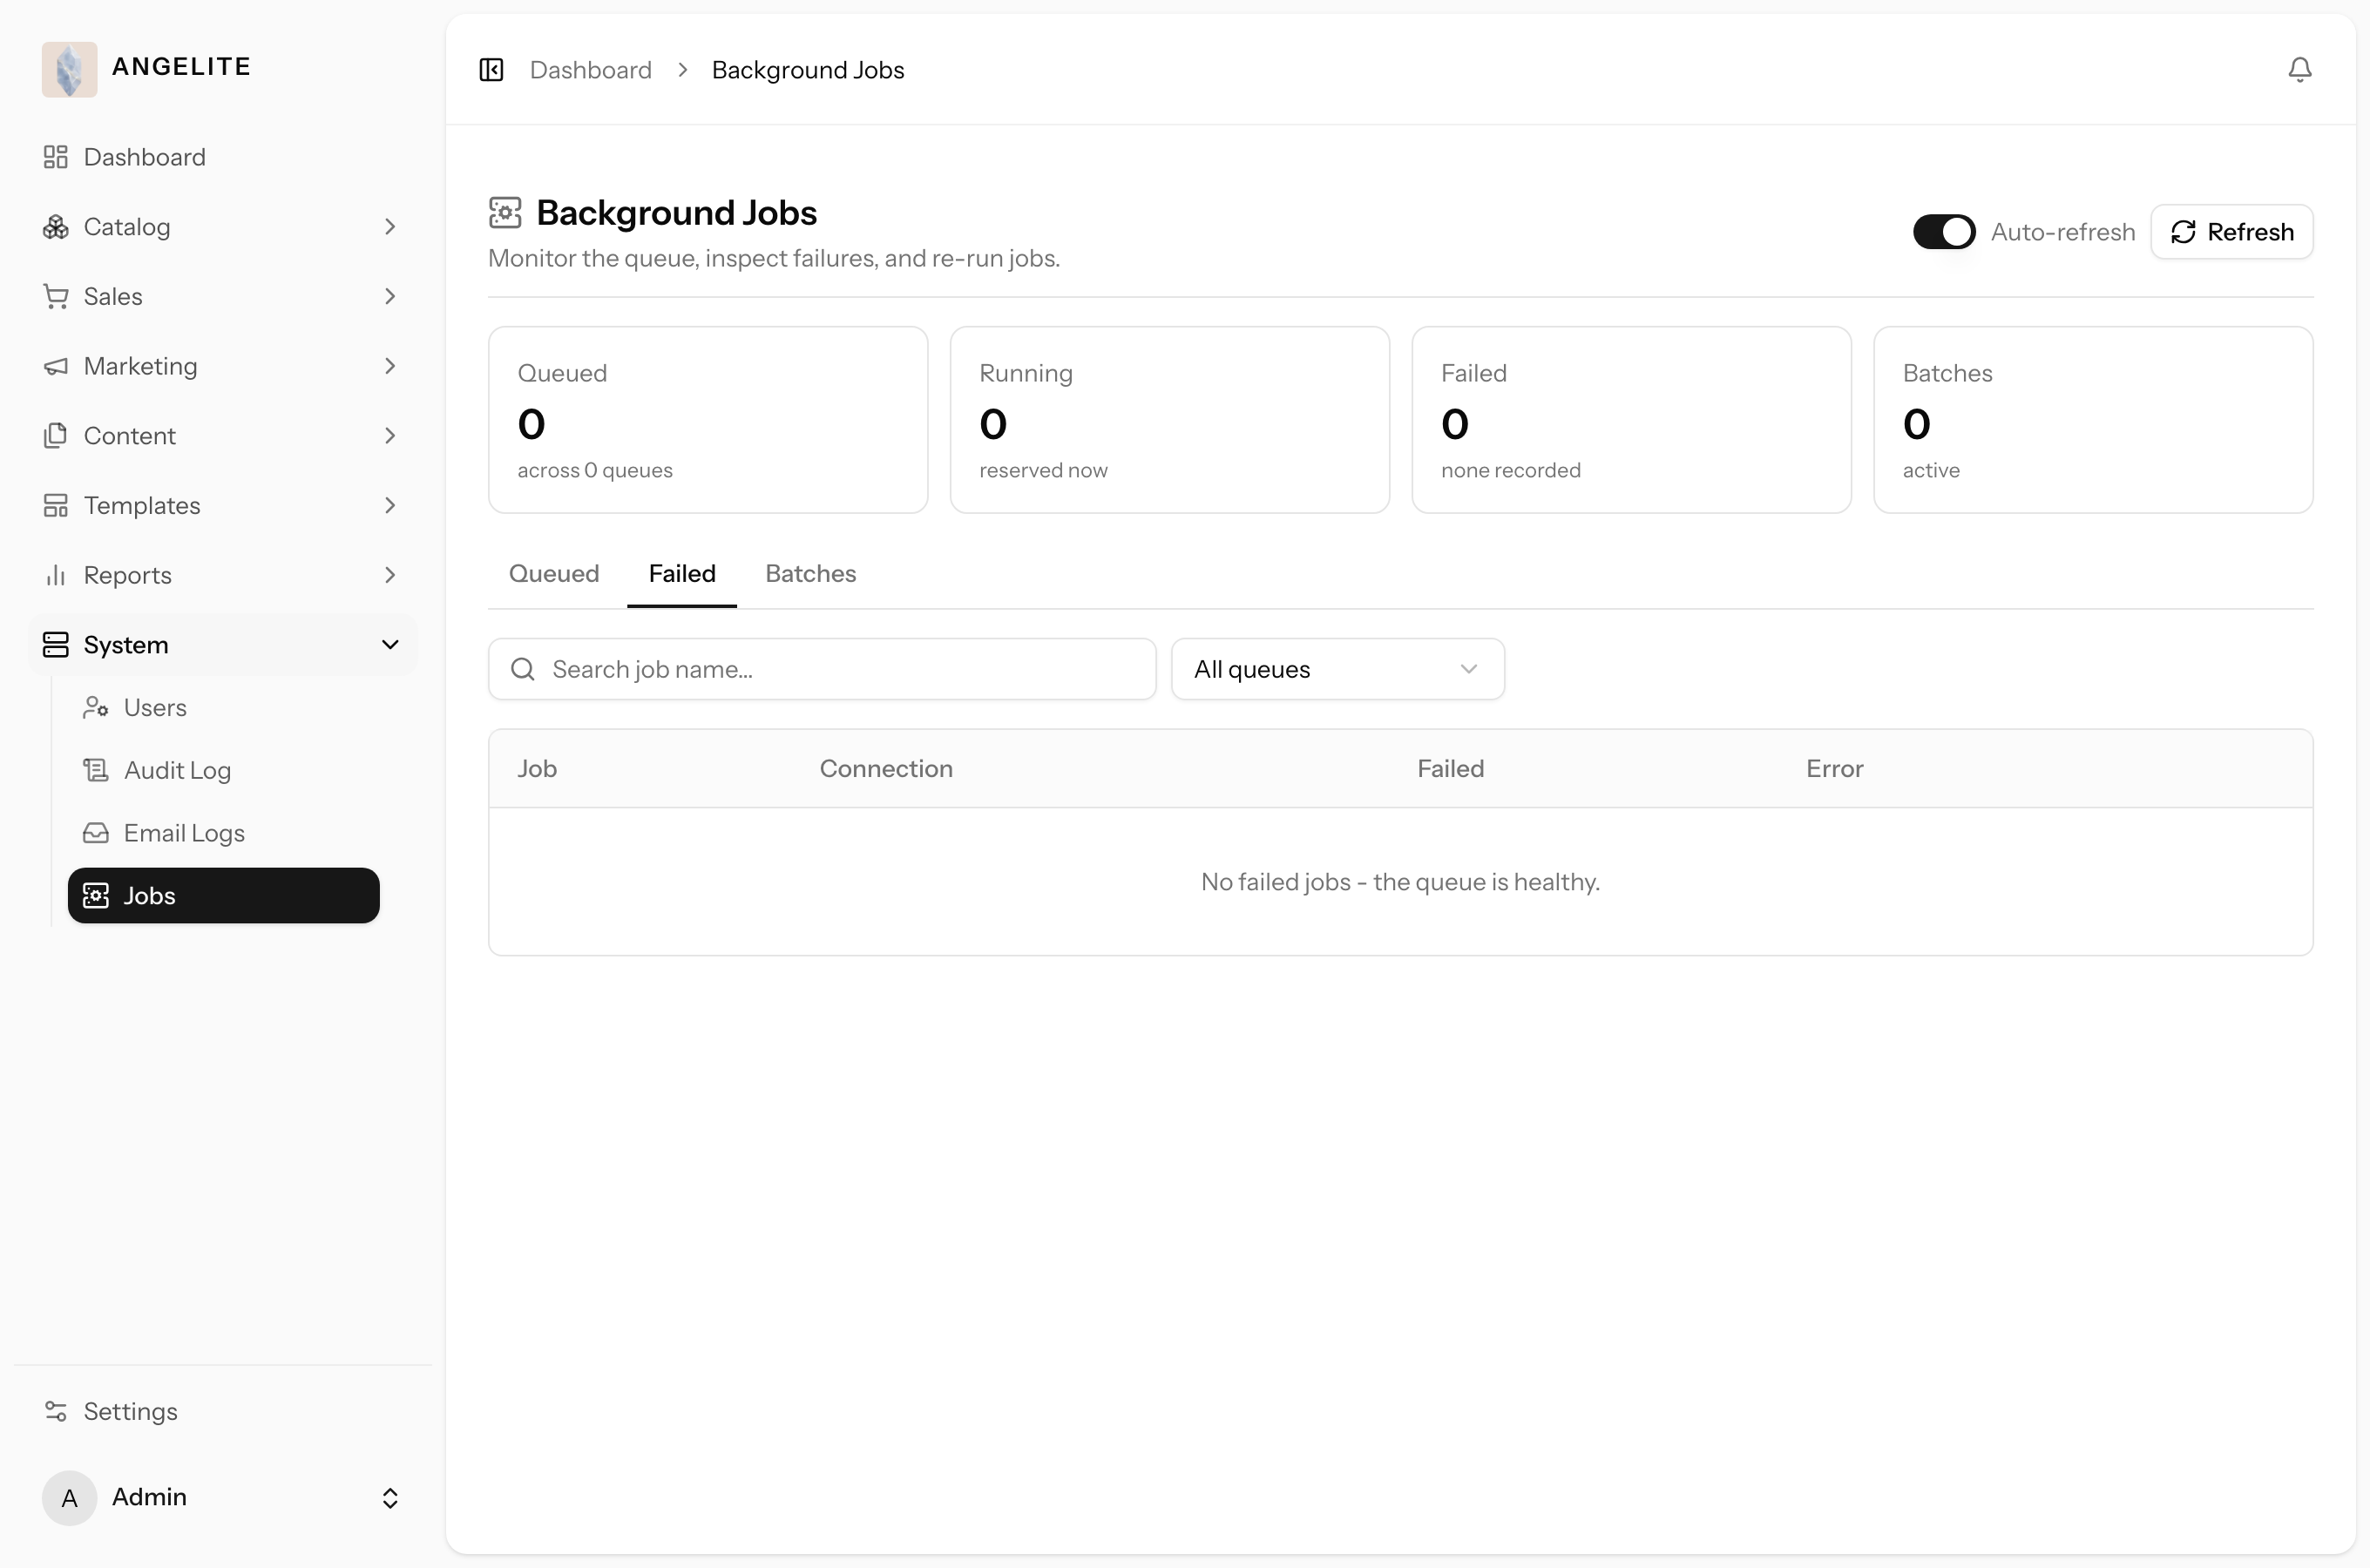
A live window over that background work. Stat cards summarise what is queued,
running and failed, tabs let you dig into the Queued, Failed and Batches lists, and admins can
retry or clear failed work in minutes; managers get a read-only view.
In practice
Say you send an Eid promotion to your whole subscriber list, but a few customers
phone in saying they never received their order confirmation that morning. You suspect some background
emails got stuck.
How Angelite handles it: you open Jobs under the Access &
Security area and glance at the stat cards, where the Failed count is higher than
usual. You switch to the Failed tab, click a failed job to read why it failed (for
example the email provider briefly timed out), and once the provider is healthy again you click
Retry all to resend the stuck confirmations. The list refreshes on its own so you can
watch the failures clear, and every retry is recorded in the Audit Log.
How to use it
Open Jobs under the System area.
Glance at the stat cards (Queued, Running, Failed, Batches) for the overall picture.
Switch between the Queued, Failed and Batches tabs,
using the queue filter and search to narrow the list.
On a failed job, click the error to read the full details; admins can Retry or
Delete a job, or Retry all / Flush old in bulk.
The list auto-refreshes every few seconds; a Refresh button forces an immediate update.
Where: System → Jobs (visible when the Jobs module is on).
Optional module: switch the Jobs monitor on or off under
Settings → Features. Every retry or flush is recorded in the Audit Log.